Photoshop tips and tricks
- Thread starter tiltjlp
- Start date
You can interact with the ChatGPT Bot in any Chat Room and there is a dedicated room. The command is /ai followed by a space and then your ? or inquiry.
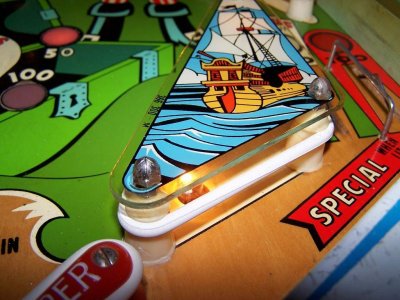
ie: /ai What is a EM Pinball Machine?
ie: /ai What is a EM Pinball Machine?
- No one is chatting at the moment.
-
 @
JonPurpleHaze:
Oh forgot, the credits in the PBS documentary I linked to for sound is Robbie!
@
JonPurpleHaze:
Oh forgot, the credits in the PBS documentary I linked to for sound is Robbie!
-
 @ ChatGPT:
@JonPurpleHaze, Samantha Fish is a talented blues guitarist and singer who leads her own band. The Samantha Fish Band typically consists of a drummer, bassist, and keyboard player, along with Fish on vocals and guitar. The band's sound is a mix of blues, rock, and soul, with Fish's powerful vocals and impressive guitar skills taking center stage. They are known for their energetic live performances and tight musicianship, drawing in audiences with their dynamic and soulful sound. The band's music often features catchy hooks, gritty guitar riffs, and soulful lyrics, creating a unique and captivating sound that sets them apart in the blues and rock music scene.
@ ChatGPT:
@JonPurpleHaze, Samantha Fish is a talented blues guitarist and singer who leads her own band. The Samantha Fish Band typically consists of a drummer, bassist, and keyboard player, along with Fish on vocals and guitar. The band's sound is a mix of blues, rock, and soul, with Fish's powerful vocals and impressive guitar skills taking center stage. They are known for their energetic live performances and tight musicianship, drawing in audiences with their dynamic and soulful sound. The band's music often features catchy hooks, gritty guitar riffs, and soulful lyrics, creating a unique and captivating sound that sets them apart in the blues and rock music scene. -
 @
Free Bally!:
well, i gotta finish up things here, get that WAYO show posted, and get some dinner! Good chattin'!
@
Free Bally!:
well, i gotta finish up things here, get that WAYO show posted, and get some dinner! Good chattin'! -
 Chat Bot Mibs:
Free Bally! has left the room.
Chat Bot Mibs:
Free Bally! has left the room. -
Chat Bot Mibs:
Flipper Hermann has left the room.